
Most decluttering projects fail because homeowners focus on what to keep instead of how they'll actually remove the waste. You've likely felt the decision fatigue and physical exhaustion that comes from dragging heavy furniture into a hallway only for it to sit there for weeks. This guide explains how to start a whole-house decluttering project with a professional framework designed to eliminate logistical stress. Stop treating your cleanout like a weekend hobby; start treating it like a tactical operation.
You deserve a home that feels functional and light, not a storage unit for items you no longer use. We'll provide a room-by-room roadmap and a stress-free disposal plan that accounts for 2026's rising landfill fees and updated tax laws for donated goods. You'll learn how to manage the heavy lifting and avoid the common pitfalls that turn a simple cleanup into a month-long headache. Follow these steps to clear the mess and regain control of your space once and for all.
Key Takeaways
- Establish a realistic timeline and clear motivation to prevent burnout during the most labor-intensive stages of your cleanout.
- Discover how to start a whole-house decluttering project by choosing between sorting by category or using a room-by-room framework.
- Assess your total waste volume early to select a disposal method that keeps piles out of your hallways and living spaces.
- Use targeted checklists for high-clutter areas like the kitchen and living room to maintain speed and efficiency.
- Finalize your project with a thorough "Last Pass" inspection and coordinate logistics for items that require professional removal.
Planning Your Whole-House Decluttering Project for 2026
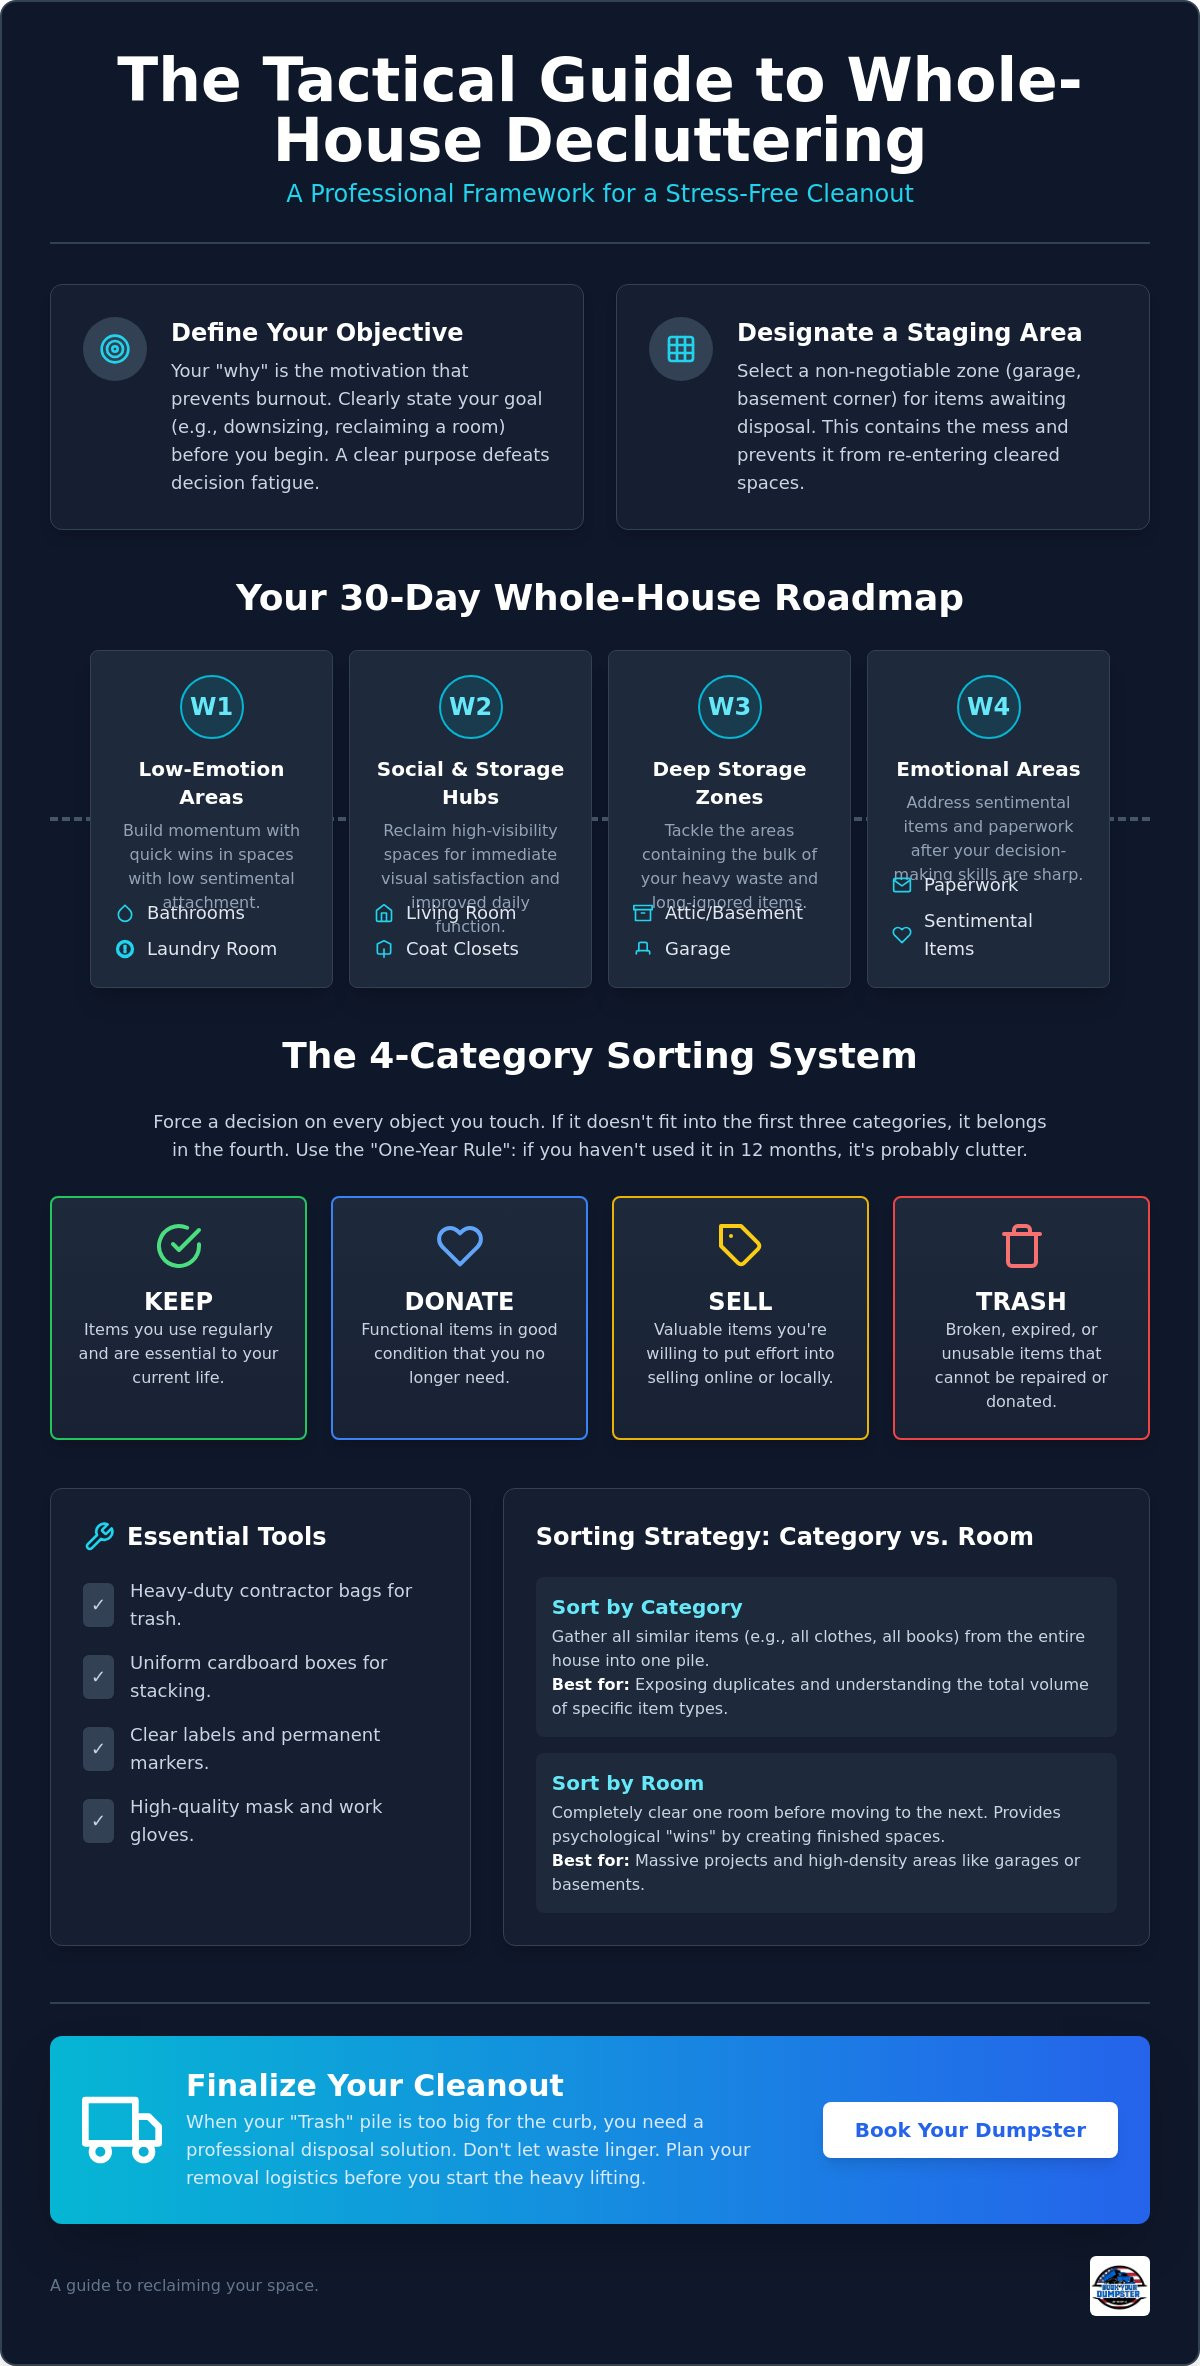
Success begins with a logistical plan. To understand how to start a whole-house decluttering project, you must first define your objective. Whether you're downsizing for a move or reclaiming a guest room, your "why" is the only thing that keeps you moving when you're knee-deep in old tax returns and broken electronics. Define this goal clearly before you touch a single box. A clear purpose prevents decision fatigue from stalling your progress during the difficult middle stages of the cleanout.
Designate a staging area immediately. This is a non-negotiable zone, such as a garage bay or a specific corner of the basement, where items wait for final disposal. Keeping the mess contained prevents it from bleeding back into rooms you've already cleared. If you don't have a designated staging area, you're just moving piles from one room to another. This creates a cycle of frustration that often leads to project abandonment.
The 30-Day Whole-House Roadmap
Don't try to finish in a weekend. A full home cleanout requires a phased approach based on emotional weight and physical volume. Use this four-week structure to maintain speed and focus.
- Week 1: High-impact, low-emotion areas. Start with bathrooms and the laundry room. These spaces rarely hold sentimental items. Clearing them allows you to build momentum and master your sorting process quickly.
- Week 2: Social spaces and storage hubs. Tackle the living room and coat closets. These are the areas guests see most. Reclaiming these spaces provides immediate visual satisfaction and improves daily functionality.
- Week 3: Deep storage zones. Move to the attic, basement, or garage. This is where you might consider the principles of Swedish death cleaning to evaluate items you've ignored for decades. These areas often contain the bulk of your heavy waste.
- Week 4: Emotional areas and final removal. Save bedrooms, photos, and paperwork for last. Your decision-making muscles will be stronger by this point. This is also the time to coordinate your final waste removal logistics.
Essential Tools for a Successful Cleanout
Efficiency depends on your kit. Use heavy-duty contractor bags for actual trash because they won't tear on sharp corners or heavy debris. Use uniform cardboard boxes for donations and items you intend to sell. Uniformity makes stacking easier in your staging area and ensures a safer workspace.
Label every container clearly. Use a four-category system: Keep, Donate, Sell, and Trash. If you're working in dusty areas like an attic or crawlspace, wear a high-quality mask and work gloves. Professional-grade safety gear prevents respiratory irritation and minor injuries that could stall your progress. If the volume of your trash pile exceeds what your curbside service can handle, visit BookYourDumpster.com to secure a dedicated container before you begin the physical labor.
Decluttering Strategies: Sorting Methods That Actually Work
Execution requires a disciplined sorting strategy. Once you understand how to start a whole-house decluttering project, you must choose a method that prevents decision fatigue. The KonMari Method, which involves sorting by category rather than location, helps you see the staggering volume of specific items like clothing or books. However, for a massive whole-house project, a room-by-room approach is often more pragmatic. It allows you to close the door on a finished space, providing the psychological wins necessary to keep going. Learning how to start a whole-house decluttering project is as much about mental endurance as physical labor.
Use the Four-Box Method to force a decision on every object you touch. Label four containers: Keep, Donate, Sell, and Trash. If an item doesn't fit into the first three, it goes in the trash. Apply the "One-Year Rule" as your primary filter. If you haven't used an item in the last twelve months, it's likely dead weight. This rule removes the emotional "what if" from the equation and focuses on your current reality. Don't let aspirational items take up space you need for your actual life.
Category vs. Location: Which is Right for You?
Use the category method for items spread throughout the house, such as linens or kitchen gadgets. This exposes duplicates you didn't know you had. Conversely, location-based decluttering is superior for high-density areas like garages and basements. These zones contain a mix of tools, seasonal decor, and lawn equipment that don't benefit from category sorting. A hybrid strategy works best; sort your closets by category but clear your utility spaces room-by-room to maintain control over the physical mess.
Handling "Sentimental Clutter" Without Getting Stuck
Sentimental items are progress killers. Use the "Photo First" technique for bulky memorabilia like old trophies or childhood furniture. Take a high-quality digital photo and then dispose of the physical object. This preserves the memory without sacrificing square footage. Implement a "One Box" rule for each family member; all physical keepsakes must fit within a single designated container. If the box is full, something must go before a new item enters. Save these emotionally charged areas for the very end of your project when your sorting efficiency is at its peak. If your "Trash" and "Donate" piles grow faster than expected, reserve a residential dumpster to keep your staging area clear and functional.
Managing the Mess: Logistical Solutions for Large-Scale Disposal
Sorting your belongings is only half the battle. Once you understand how to start a whole-house decluttering project, you'll quickly realize that the volume of waste generated often exceeds residential curbside limits. A standard three-bedroom home can easily produce several tons of debris, ranging from broken furniture to bags of clothing. Curbside services frequently limit pickups to two bags or a single bulky item per week. Attempting to clear a whole house using standard trash bins will leave piles sitting in your hallway for months.
Efficiency requires a professional disposal solution. A roll-off dumpster provides a central point for all waste, allowing you to move items directly from the room to the container. This eliminates the need for multiple trips to a landfill or local disposal site. It also prevents the "hallway pile" syndrome that causes many homeowners to lose momentum. By centralizing your trash, you keep your living zones clean while the work continues elsewhere.
Why a 10-Yard Dumpster is the Declutterer’s Best Friend
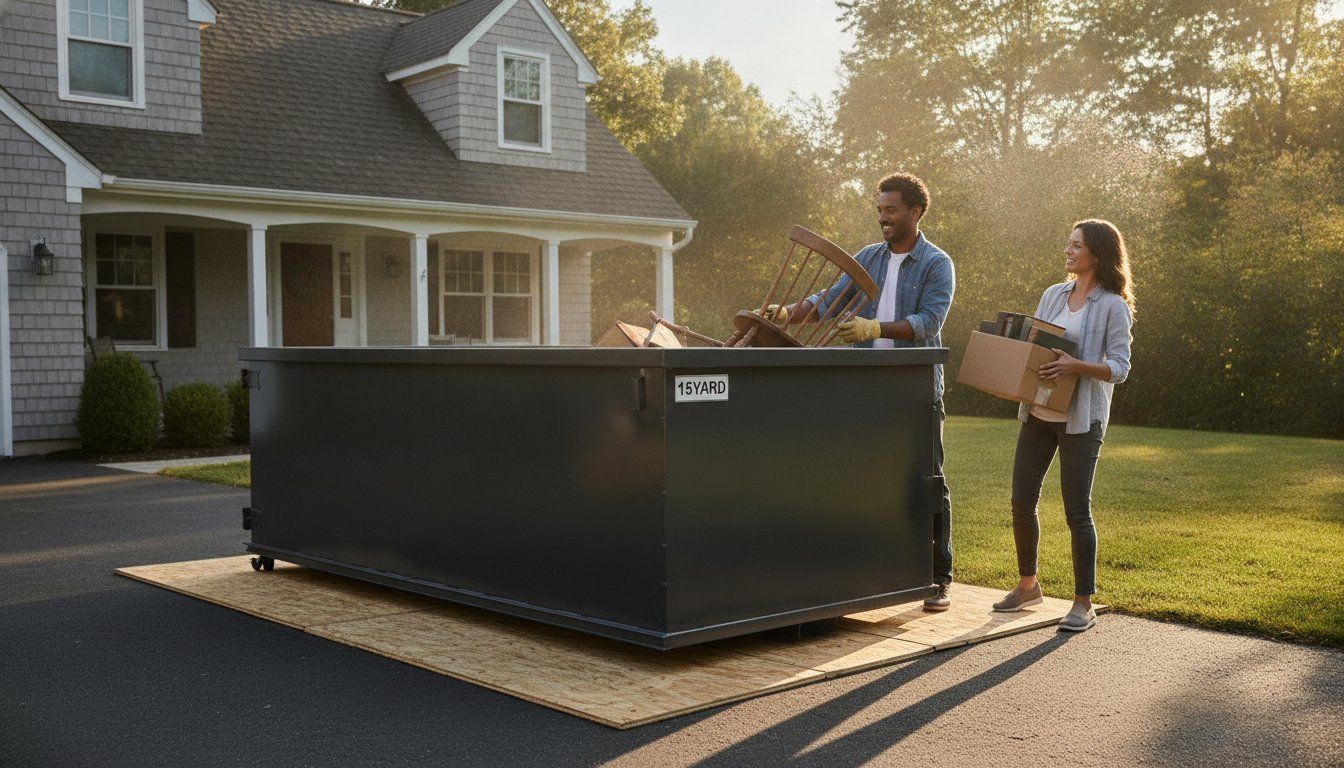
A 10 yard dumpster is the most practical choice for focused residential cleanouts. It holds the equivalent of approximately four pickup truck loads. This size is small enough to fit on most driveways but large enough to handle heavy items like mattresses and old appliances. There is a significant psychological benefit to the "One-Way Trip." When an item goes into the dumpster, it's officially out of your life. This immediate resolution reduces decision fatigue and allows you to focus on the next room. Comparing the cost of a single rental to the fuel, time, and gate fees of five trips to the landfill usually proves the rental is the more economical tool.
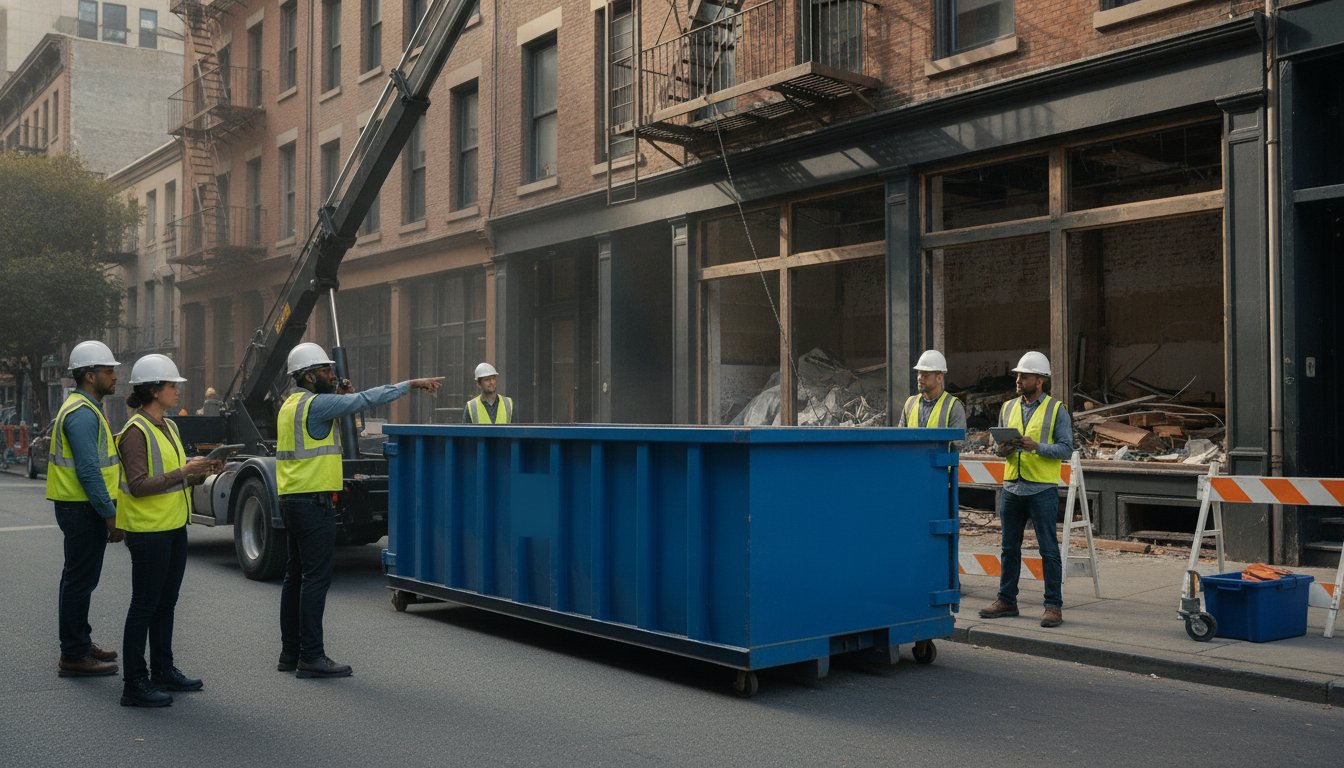
Regional Logistics: NY, NJ, and MA Guidelines
Local regulations vary significantly by state. If you live in New York, specifically in high-density areas like Queens, you may need a permit for street placement if your driveway is inaccessible. Homeowners in Massachusetts and Illinois should check municipal weight limits to avoid overage fees. Prohibited items generally include hazardous materials like paint, batteries, and tires. Schedule your delivery for a Friday to ensure the container is ready for a "heavy lifting" weekend. Always confirm the placement location with your provider to ensure the truck has enough clearance for a safe drop-off and pickup.
The Room-by-Room Execution Checklist
Execution requires a systematic approach to prevent backtracking. Once you know how to start a whole-house decluttering project, you must move through each zone with a specific objective. Focus on high-traffic areas first to see immediate results. This maintains the momentum you established during the planning phase. Use the following checklists to ensure no corner is overlooked.
Taming the Kitchen and Pantry
Empty every cabinet entirely. This "Empty Cabinet" strategy is the only way to see the true volume of mismatched containers and duplicate gadgets. Discard any food item past its expiration date. If you haven't used a small appliance in the last six months, it's taking up valuable real estate. Donate bread makers and specialty juicers that no longer serve your daily routine. Reorganize bulk food into clear, labeled bins to prevent future overbuying and clutter buildup.
- Living Room: Clear "surface creep" from coffee tables and mantels. Audit your media collection and discard obsolete cables or broken electronics.
- Bedrooms and Closets: Use the "Reverse Hanger" trick. Turn all clothes hangers backward. When you wear an item, turn the hanger forward. After one season, donate everything still facing backward.
- Storage Areas: Group similar items into functional zones. This makes finding tools or seasonal decor easier in the future.
Clearing Out the Garage and Basement
Garages and basements often hide the most difficult items to manage. Identify hazardous waste early. Old paint cans, household chemicals, and automotive fluids cannot go into a standard dumpster. Set these aside for a local hazardous waste collection day. Debris refers to the accumulated physical waste, including broken construction materials, discarded household goods, and yard waste, that requires removal during a site cleanup. Organize your remaining tools and outdoor gear into specific zones based on frequency of use. Keep lawn equipment near the door and seasonal items in higher or deeper storage areas. If the volume of debris exceeds your capacity to haul it, schedule your cleanup rental today to keep your workspace clear and safe.
Finalizing the Cleanout and Booking Your Disposal Solution
Conduct a "Last Pass" inspection once the main rooms are clear. Open every cabinet and check under every stairwell. Clutter often hides in the nooks and crannies you overlooked during the initial rush. This final sweep ensures the project is truly complete and prevents the immediate return of "junk drawers." Coordinate your donation logistics simultaneously to clear the staging area. For the 2026 tax year, remember that non-itemizers can now deduct cash donations up to $1,000 for single filers. While non-cash items like furniture are still deductible at fair market value, you must document these items before they leave your property. Schedule charity pickups early, as many local organizations have lead times of two weeks or more.
Your disposal plan is the final hurdle of the operation. Understanding how to start a whole-house decluttering project means knowing when to call for the final haul. Don't let the dumpster sit on your property longer than necessary. Once the physical labor is finished, verify that all items are contained within the walls of the unit. This prevents local wildlife from nesting in the debris and keeps your property looking professional. A clear driveway is the ultimate sign that your project has reached a successful conclusion.
The Finish Line: Scheduling Your Dumpster Pickup
Ensure your dumpster is loaded safely for transport. All debris must be level with the top of the container. Items sticking out over the sides or piled above the rim create safety hazards during transit and can result in a failed pickup attempt. If you have heavy items like old appliances or furniture, place them at the bottom to maintain a low center of gravity. Take a moment for a final walkthrough of your home. The feeling of a truly empty, functional space is the direct result of your disciplined labor. Ready to start? Book your roll-off dumpster rental today for a stress-free cleanout.
Building a Clutter-Free Future
Maintain your "Zero Clutter" state with sustainable habits for 2026. Implement a strict "One In, One Out" rule for all new purchases. If you buy a new kitchen gadget, a legacy item must leave the house immediately. Set up a permanent "Donation Station" in your laundry room or garage. This allows you to process small amounts of clutter as they appear rather than waiting for another massive project. For more advanced strategies on managing large-scale debris for renovations or future cleanouts, see Roll Off Dumpster Rental: The Complete Guide. Success in how to start a whole-house decluttering project is only valuable if you have the tools to keep the mess from returning.
Reclaim Your Home and Restore Order
A successful cleanout requires more than just a weekend of effort. It demands a professional logistical strategy. By establishing a clear 30-day roadmap and utilizing disciplined sorting methods, you've mastered how to start a whole-house decluttering project with confidence. The final step is removing the physical burden of waste from your property so you can finally enjoy the functional, light-filled home you deserve.
Don't let the momentum stall by waiting for local curbside pickups that may never take your bulkier items. Use our streamlined online booking system to select from 10, 20, 30, or 40-yard dumpsters tailored to your specific project volume. We provide reliable service across NY, NJ, IL, and MA to ensure your disposal is as efficient as your sorting. Streamline your project with a Book Your Dumpster USA rental today and finish your cleanout on your own terms. You've done the hard work of deciding what stays. Let us handle the logistics of what goes.
Frequently Asked Questions
How do I start decluttering when I am completely overwhelmed?
Start with a single drawer or a low-emotion area like the bathroom. Focus on high-impact, visible progress to build immediate momentum. Do not attempt to analyze sentimental items early in the process. Break the project into 15-minute intervals to reduce cognitive load and prevent burnout. Success comes from consistent, small actions rather than occasional marathon sessions. Clear the easiest path first to create a sense of control.
What is the fastest way to declutter a whole house?
The fastest method is to remove all trash and obvious debris first. Move from room to room with heavy-duty bags and discard everything that is broken, expired, or clearly useless. Once the surface-level clutter is gone, you can focus on deeper sorting. Hiring a professional disposal service to remove the bulk waste in one trip significantly accelerates your timeline compared to making multiple, time-consuming landfill runs.
Should I declutter room by room or by category?
Use a room-by-room approach for large-scale whole-house projects. While category sorting works for small collections, it often creates massive piles that make your home unlivable during a full cleanout. Clearing one room at a time provides a clean zone where you can escape the mess. This method keeps the project manageable and allows you to track your progress visually as you move through the floor plan.
How much does it cost to get rid of a whole house full of junk?
Costs vary based on volume, location, and disposal method. You must account for landfill tipping fees, which saw a 10% national average increase recently, and potential permit costs for street-placed containers. While individual junk removal items can cost between $70 and $150 each, renting a large-scale container is often the most cost-effective solution for full-home projects. Always request a local quote to confirm current regional rates.
What items cannot be put in a rental dumpster during a cleanout?
You cannot dispose of hazardous materials, including wet paint, batteries, tires, and household chemicals. These items require specialized handling at designated collection centers to prevent environmental contamination. Electronics and appliances containing refrigerants also often fall under restricted lists. Always review your provider's specific prohibited items list before loading your container to avoid additional sorting fees or rejected pickups at the disposal site. Safety and compliance are non-negotiable.
How do I decide what to keep and what to throw away?
Apply the "One-Year Rule" to every object you touch. If you haven't used the item in the last 12 months, it's a prime candidate for removal. Ask yourself if the item serves a current function or if you're keeping it for an aspirational lifestyle. If you aren't sure how to start a whole-house decluttering project effectively, start by removing everything that is a duplicate, damaged, or clearly outdated.
Is it better to sell or donate decluttered items?
Donation is almost always the faster, more efficient choice for whole-house projects. Selling items requires photography, listing, and coordinating with buyers, which can stall your progress for weeks. Donation allows you to clear the space immediately and may provide tax benefits under 2026 regulations. Only sell high-value items that justify the significant time investment required to manage the transaction. Prioritize the speed of removal over marginal financial gain.
How long does a typical whole-house decluttering project take?
A thorough project usually takes between 20 and 40 hours of active labor for an average-sized home. When learning how to start a whole-house decluttering project, you should plan for a 30-day timeline. This allows you to work in manageable blocks without experiencing physical exhaustion. The total duration depends heavily on clutter density and how quickly you can coordinate the final removal of discarded items from your property.